SIOS Datakeeper Cluster Edition is a great bit of software. Weighing in at only 22mb it allows you to create a Windows Failover clustering storage disk. This then allows you to get past the Azure limitation of no shared storage. I thought I would blog the steps needed to set it up. I was amazed at how good a job it does, especially weighing in at only 22MB. As a said before, in Azure you cannot use shared storage so this software works nicely as a workaround. I have previously detailed how to create a 2 node cluster in Azure. The guide gets you to the point where we are ready to create the clustered volume. You can find this guide at the link below. If you need to know how to create the initial cluster then I would advise visiting the link and then coming back here.
Setup File Server Cluster Using Failover Clustering in Azure
Before you can install SIOS, you will need the software and a license. You can get a trial license from Openminds.co.uk if you want to try it out before you buy. Tell them I sent you 🙂
Technically, you will also need each cluster node to have the same disk drives available with the same drive letter. In my example I have created a F drive on each node which is 1TB big. Also ensure the windows firewall is disabled for all zones on both nodes.
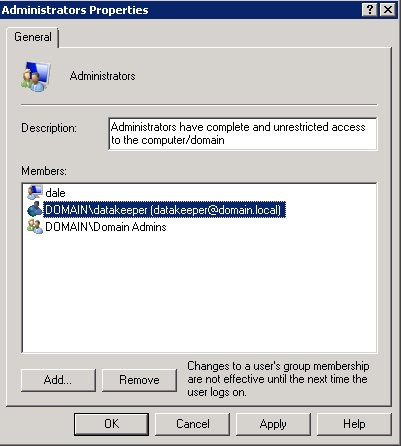
Another important step is the SIOS software needs to have local admin rights on each cluster nodes. Create a normal service account in AD with domain user rights. Then add this to the local admins on both nodes. The account does not need to be a domain admin. If you miss this step then you will be unable to scan the nodes and the installation will fail. I suggest you set the password on the account to never expire as you would with any service account. The pic below shows my service account in the local administrators group on the cluster nodes
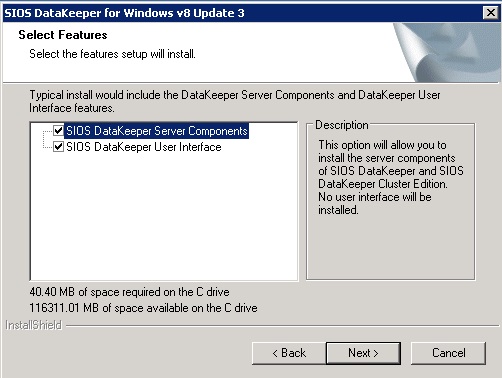
So you have the software, license and you have created the local admin account and assigned the permissions. Log into one of the cluster nodes and run the installer. Click yes to the license agreement. Then ensure both components are installed and click next.
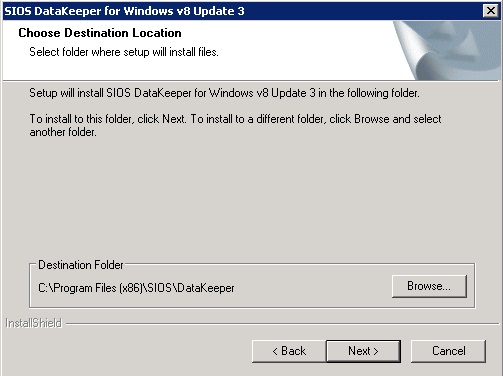
Change the install location to wherever you want to put it. Click next.
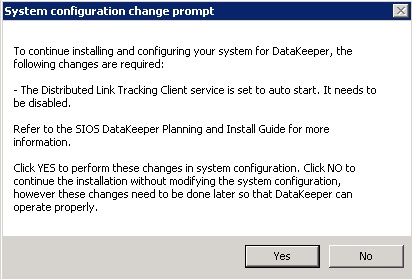
Click yes to the system change notification. If you have not disabled the firewall you will get another screen pop up here as well requesting firewall changes.
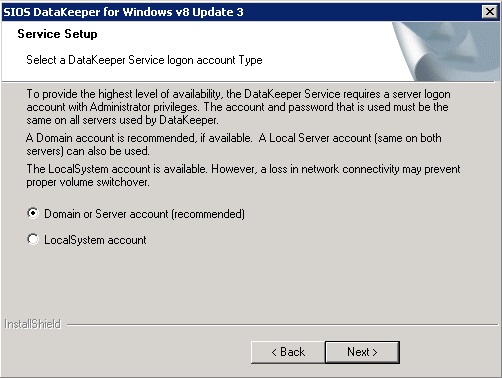
Click Domain or server account and click next.
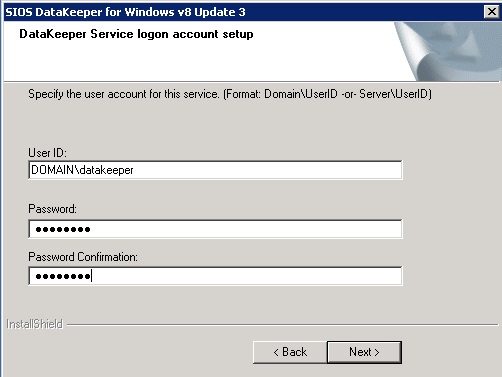
Enter the details of your domain account you created earlier. Warning. If this user is not a local admin of the server, the SIOS service will not start.
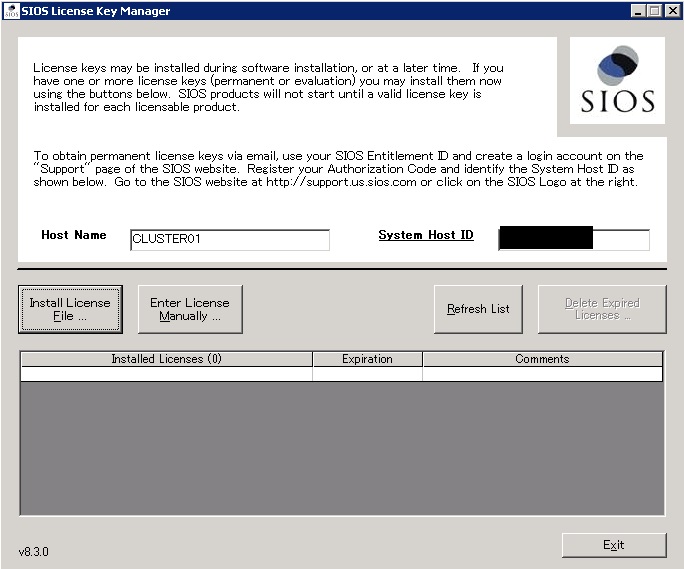
You will now get up the license manager. Click enter the license key manually.
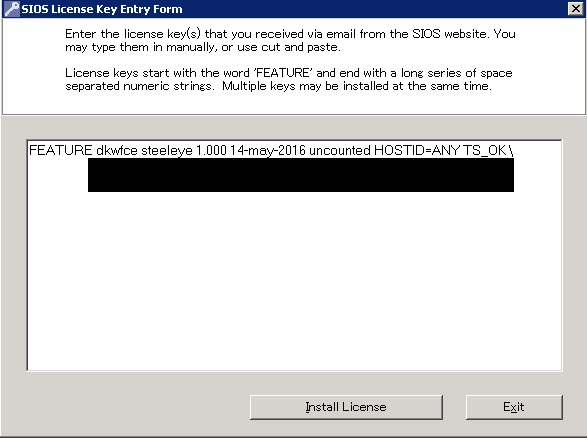
Paste in your license key and click Install License.
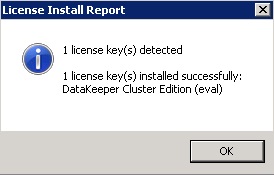
You will get a license confirmation screen. It will then appear in license manager.
Click finish and then click yes to the restart.

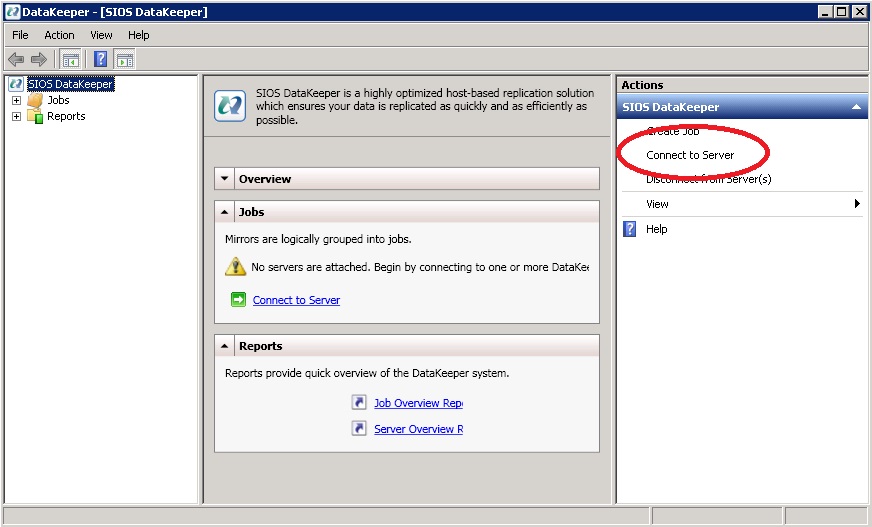
Once both nodes have the SIOS software installed and have been rebooted, log back into one of the cluster nodes. Run the SIOS software. You only need to carry out the steps below on one of the nodes. When you open the software. Click Connect to server on the right.
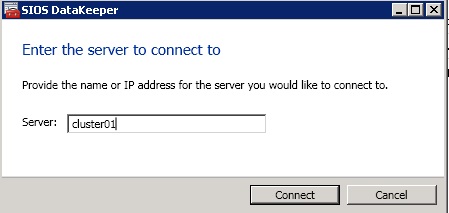
Add the 1st Cluster node and click connect.
It should come back thats it has been successful. Click ok and then repeat the same steps and connected to node 2.

Again it should say successful. If it doesn’t, most likely its that the account you used doesn’t have local admin rights so the service has not started.

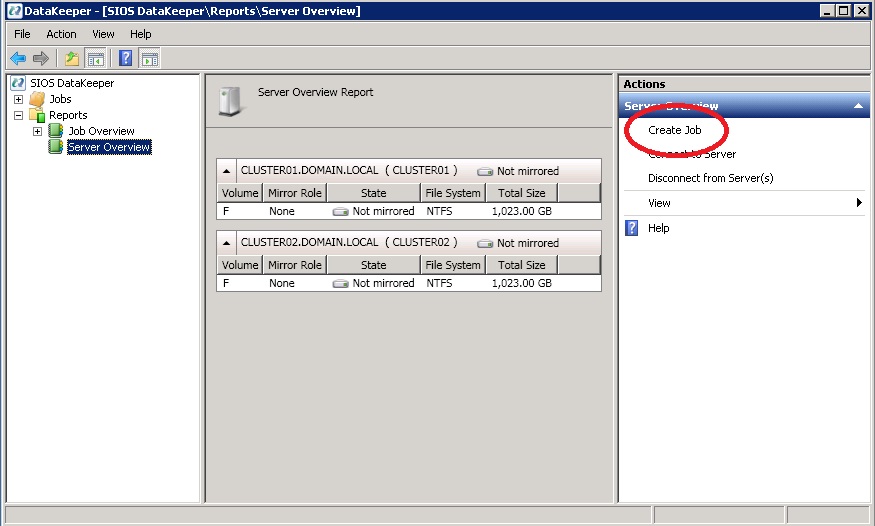
Once both nodes have been added, branch out reports and click server overview. You should see both nodes listed and what storage they have available to mirror. Click Create job on the right.
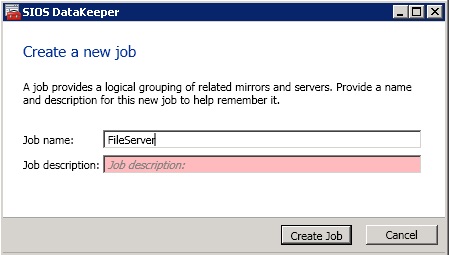
Give the job a name and click create job. I called mine FileServer.
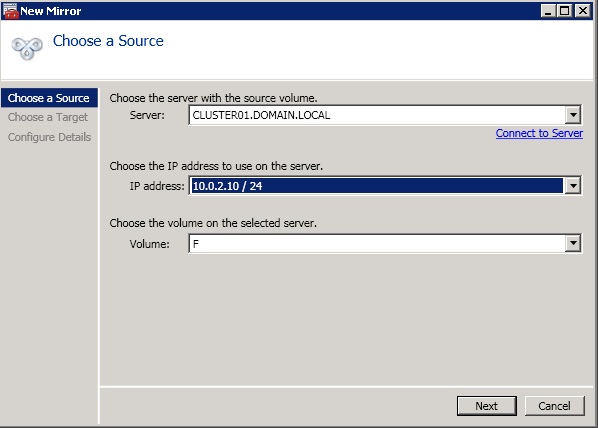
It will now ask which drive you wish to be the source. Select the right node. Also ensure you select the replication network for the network it should use to replicate. Click next.
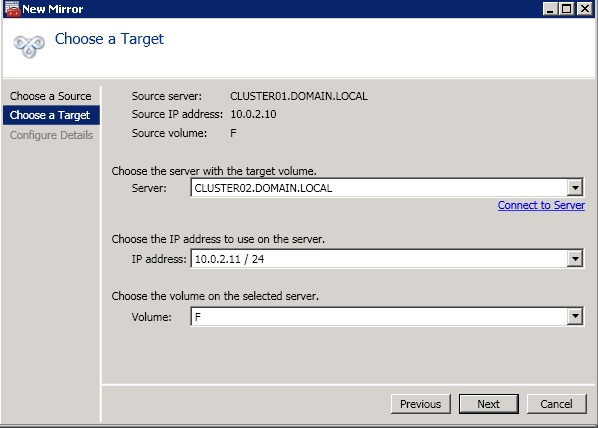
Choose the destination server / volume. Again select the replication nic. Click next.
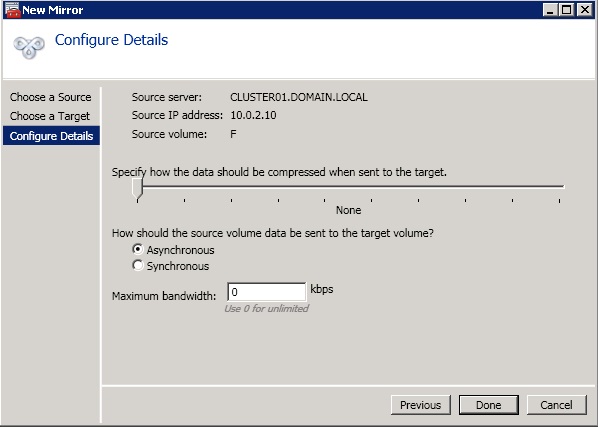
Accept the defaults at the next screen and click done.
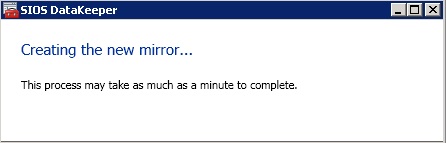
The job will now be created.
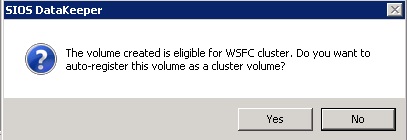
Once complete it will ask you if you want to add the volume to failover clustering. Click yes.
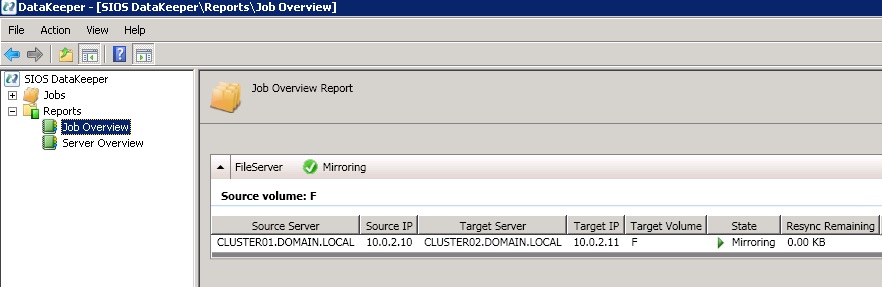
Now go to the Job overview window in the reports section. You should now see the mirror in place. One thing I do not like about the SIOS software is that if everying is ok it just says “mirroring”. No ok or complete or insync. They need to alter this to show everything is ok. I spoke to one of their technical team and was informed mirroring = ok. Nice……..
If your source volume had lots of data on it you will need to wait for the initial sync to occur. The resync remaining will detail how much is left. Mine was blank so all done.
Now pop back to Failover clustering. We can now see the volume available to be presented to a cluster.

Thats it for this guide. If you want to know how to finish setting up a file server cluster in Azure then pop back to the other guide.
Setup File Server Cluster Using Failover Clustering in Azure