Since Apple starting using Intel CPU’s in their machines, more and more people are finding ways to run Mac OS X on normal PC hardware.
If your looking to try and build a Hackintosh / OSx86 Machine the first part of the puzzle is to create a USB stick that can be used to install Mac OS X 10.9 Mavericks on your machine.
In order to create the install media you are going to need the following :-
1 – 8GB or bigger USB memory stick
2 – Access to a Mac / Hackintosh running OS X 10.8 or higher. It can be running Mavericks already.
Step 1 – Download the Mavericks Install Image
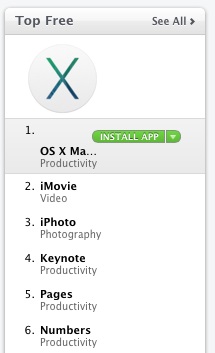
Go to an existing Hackintosh machine or a mac and go into the Mac App Store. Your find this if your Applications or down on the dock.

Once in there go over to the top 10 apps downloaded and you should see Mavericks as number 1. Click Install and then download.
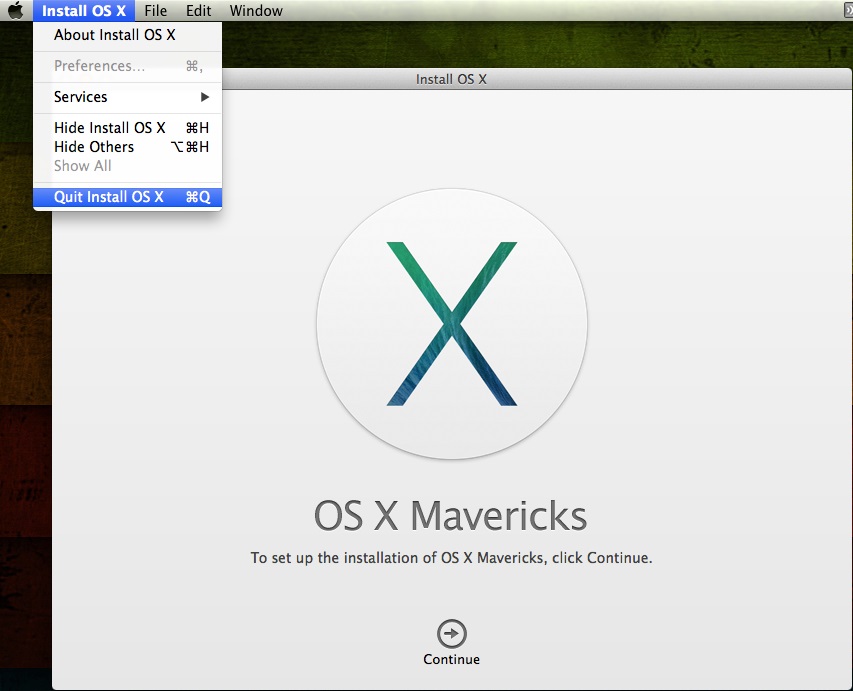
Do not worry we are not going to install it. We just need to do this in order for it to download and leave the install media on the HDD.
Once downloaded it will start the install process. Click Install OS X at the top of the screen and click Quit Install OS X.
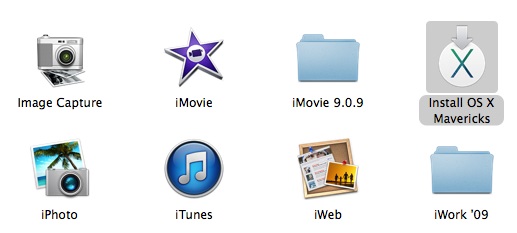
You should now see under Applications install OS X Mavericks……..
We now have the install media we now need to create the bootable USB Stick.
Step 2 – Creating a bootable OS X Maverick USB Stick
The next step of the install process is creating a suitable USB stick so that we can Mavericks installed. Most BIOS’s won’t let a native MAC OS install usb stick boot so we have to get around this. The way we do this is by using a program called UNIBEAST. This tool will create a boot loader on your USB stick that the ASUS motherboard can boot. Then it will help boot the install partition.
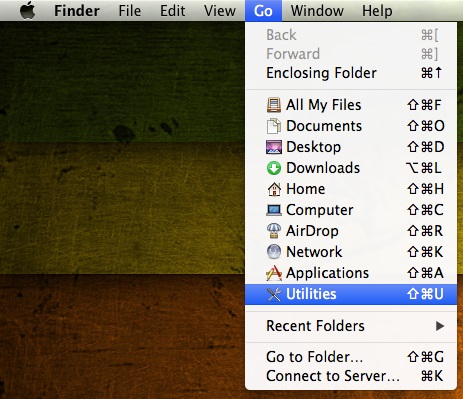
Insert your 8GB USB Stick into your Mac / Hackintosh and then click on the desktop and click Go, Utilities.
Then scroll down until you find Disk Utility. Double click on it.
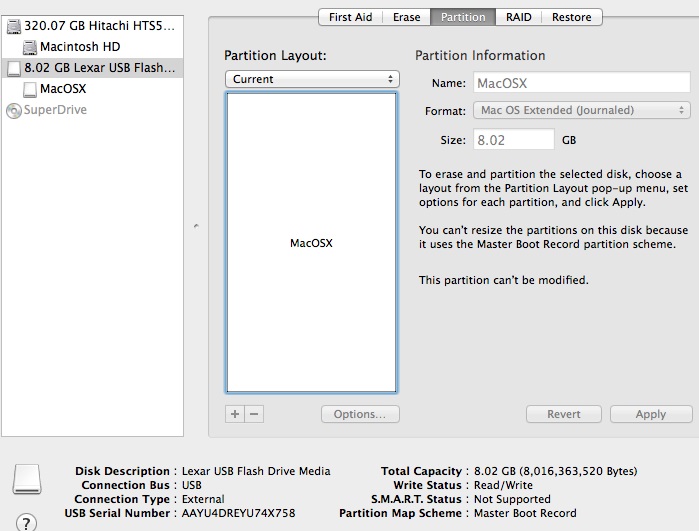
Once Disk Utility has opened click on your USB Stick on the left hand side. Click on it at the top level.
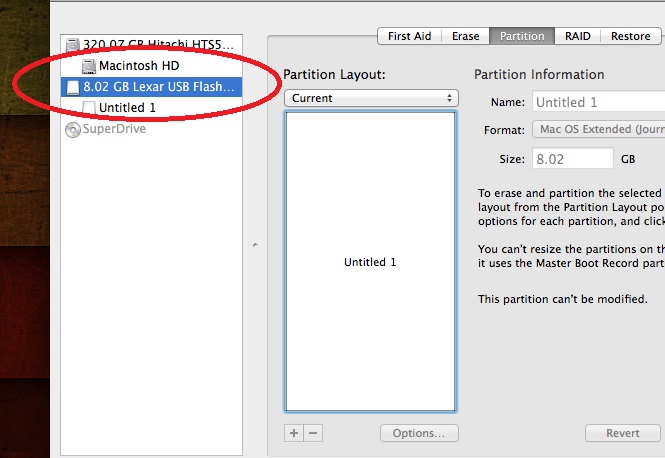
Then on the right hand side click Partition. Then click on Current and click 1 Partition.
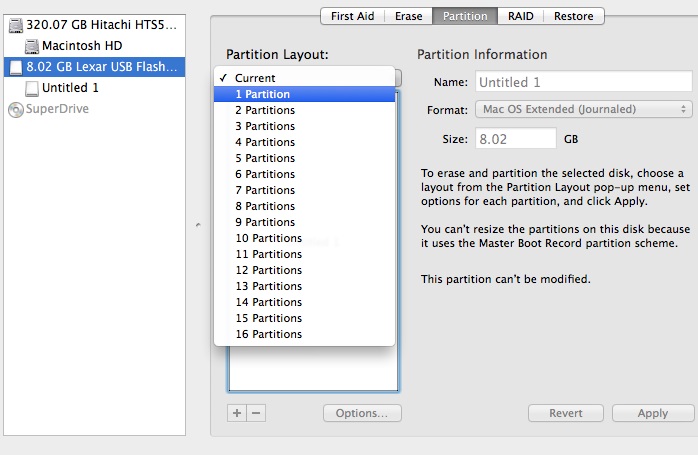
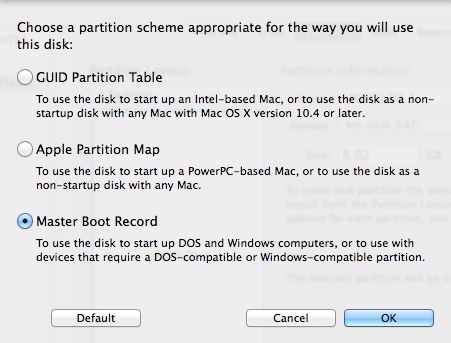
Click the options button down the bottom left.
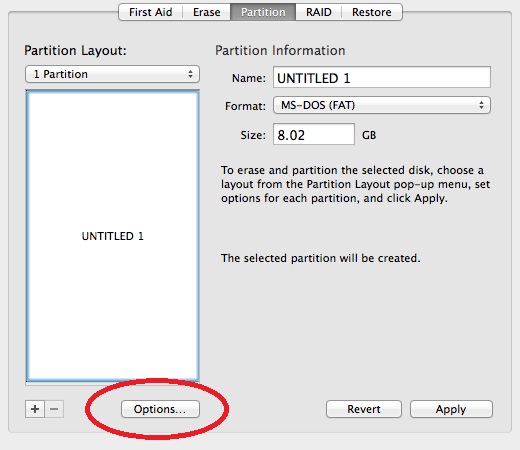
Click Master Boot Record and click ok.
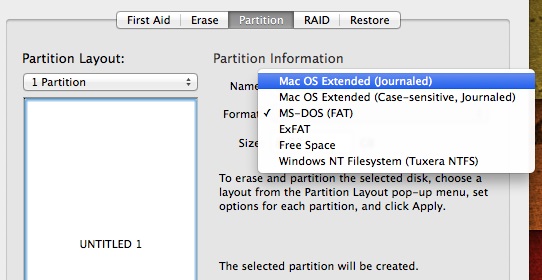
Under Format choose Mac OS Extended Journaled.
Give the parition a name. Something like MacOSX or MacInstall helps identify it later on.
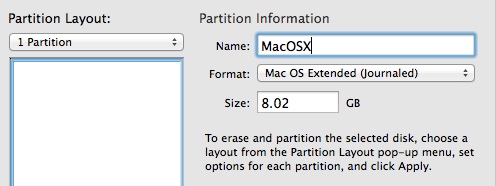
Confirm the settings and click Partition.
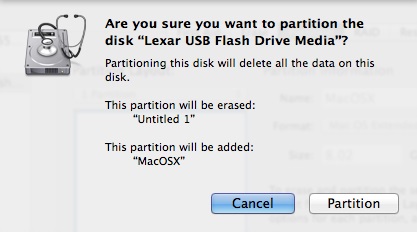
It will then partition and format the USB Stick for you. It should look like below when complete.
Thats the USB stick formatted and prepared. We now need to put the Mavericks install on it. To do this we use a program called Unibeast. Grab the latest version from here
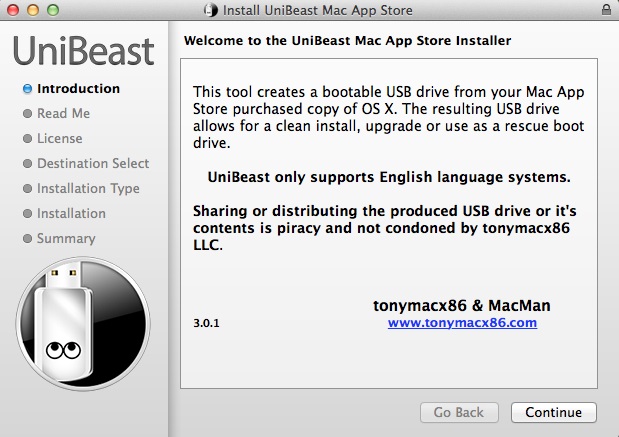
Once downloaded run it and click continue
Click continue
Click Continue
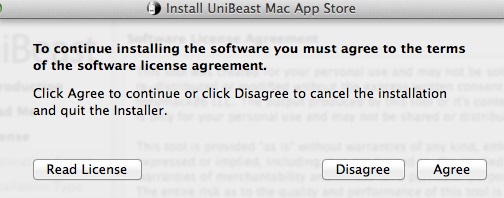
Click Agree
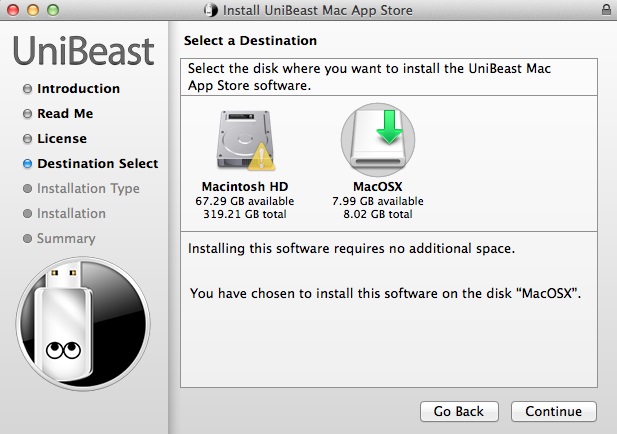
Click on your USB Stick so it has a green arrow on it and click continue
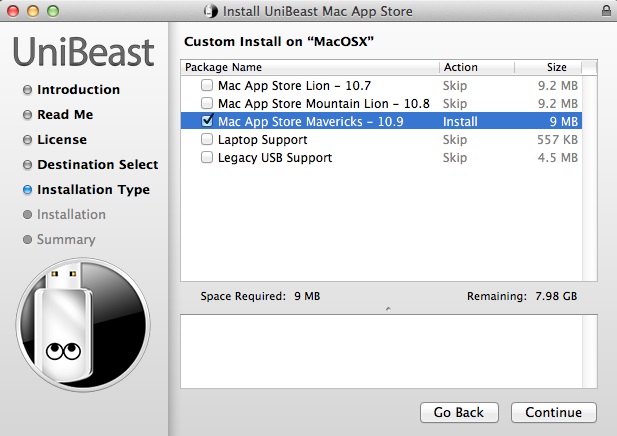
Put a tick next to “Mac App Store – Mavericks – 10.9” and then click continue
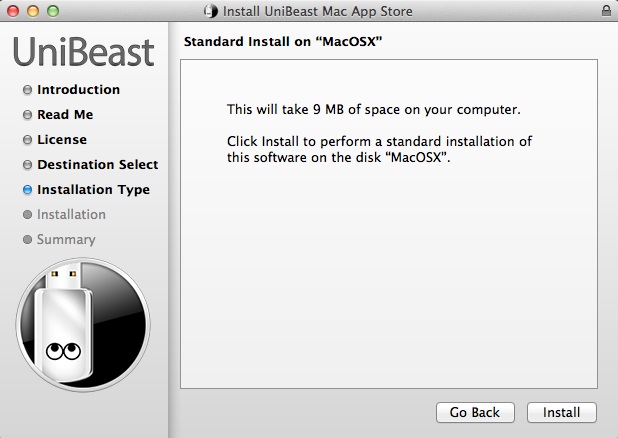
It will tell you it will only take up 9MB on the next screen. This is not correct. Ignore this and click Install.
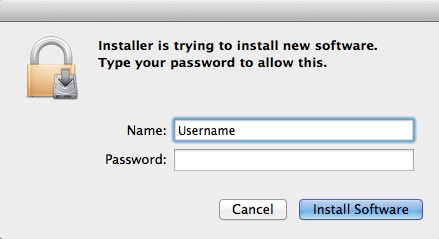
Since it needs to do fancy disk operations it will now prompt for your MAC admin username and password. Enter them and click Install Software.
It will now start copying files to the USB stick. The progress bar during this process is well off. It will take 15-20 minutes depending on the speed of your USB stick.

After 15-20 minutes it will complete and say “The Installation was successful”
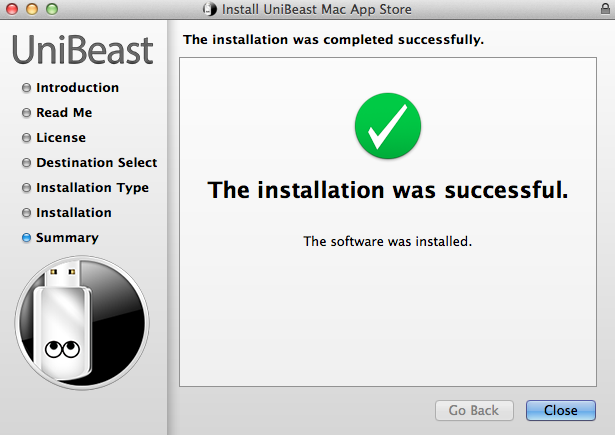
Your install USB stick is now ready to use.
Look out got more guides where I walk through using the USB stick to install Mac OS X on a Hackintosh.