In Server 2012 R2 Microsoft have introduced a new feature called Work Folders. This new feature is Microsoft’s 1st attempt to create a corporate version of Skydrive and Dropbox. Basically enabling users to sync data back to the Corporate’s file server without the need of a VPN or Remote Desktop. As long as the user has internet access the folders will be available and will sync back and forward.
The implementation is quite early for Microsoft as there are no shared folders, so you cant have a sync for multiple users etc. This might come in future versions……. However I suppose you could create a sales user for now as a workaround.
Lets get started. First of all we need to install the Work Folders Role to a server in your domain.
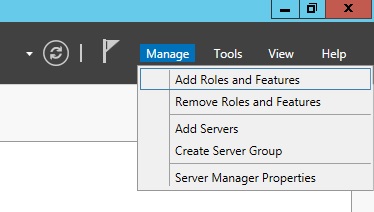
Open Server Manager on your designated server and click manage, Add Roles and Features.
When the new window appears it should say the server your on. Check this is right.
Click Role-based or feature-based installation, Click Next.

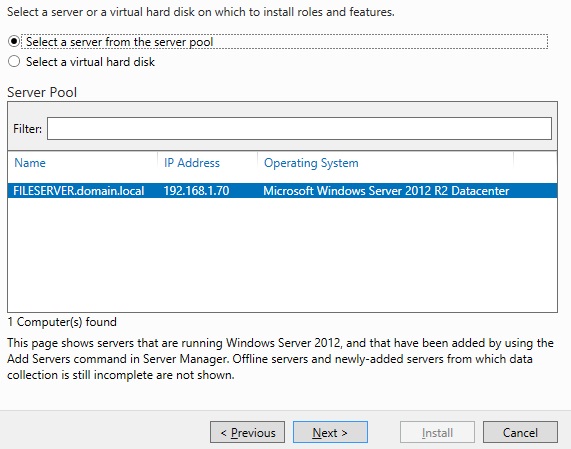
Make sure the correct server is hightlighted and click Next.
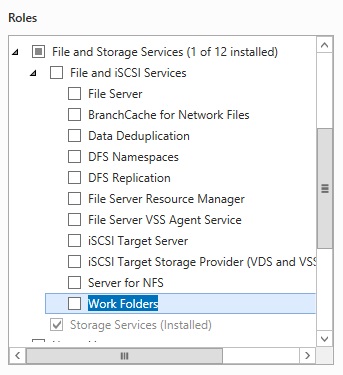
Branch out File and Storage Services and then File and iSCI Services. Tick Work Folders
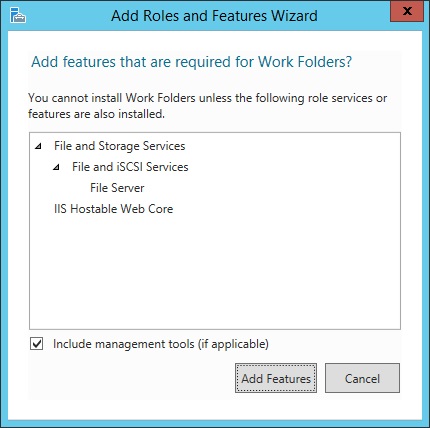
On the next screen accept the defaults and just click Add Features.
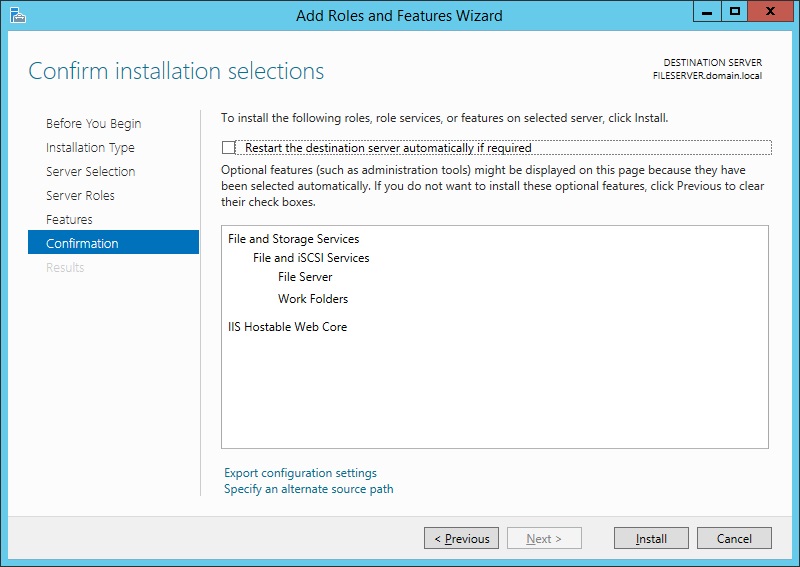
Click Next to the 2 screens that follow. Then click install.
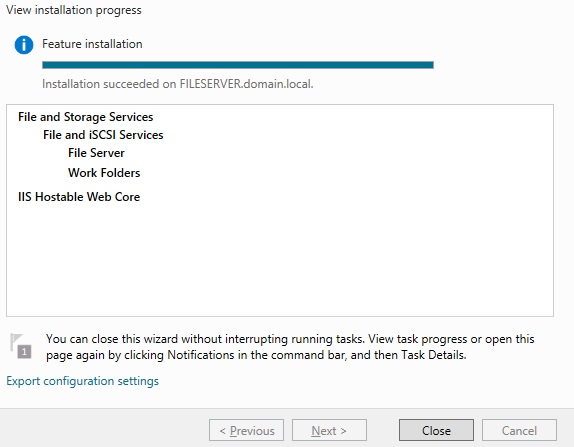
When the installation has succeeded. Click Close.
If your a powershell fan then all this can be done with the following Powershell command.
Add-WindowsFeature FS-SyncShareServiceNow we have installed the Work Folder feature we need to configure it.
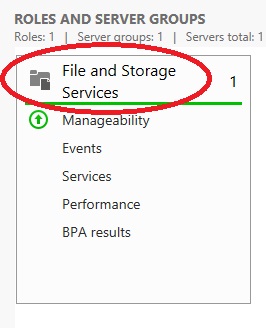
Open Server Manager and click on the server role File and Storage Services.
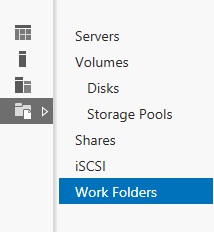
Click Work Folders on the left hand column
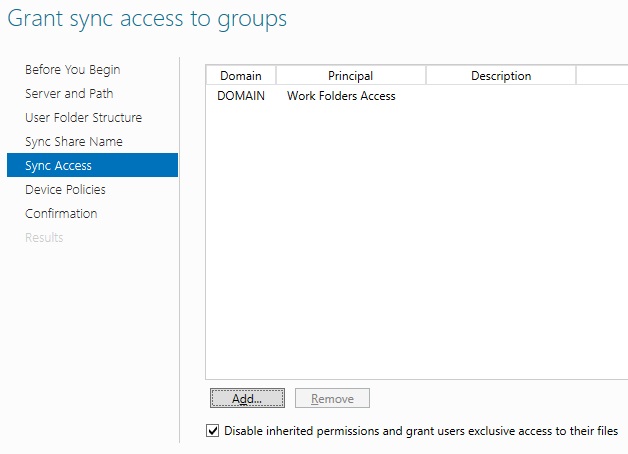
We now need to create a Sync Share. A sync share is where our data will be stored. In the sync share there will be sub folders for all our users. Its basically a repository. During the sync share wizard we will need to assign a group to the share. In this example I have create an Active Directory Security Group called “Work Folders Access”.
I’ve added a test user called Test to this group. I also created a folder in the root of my servers C drive called WorkFolders ready for the wizard.
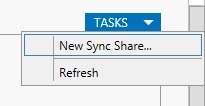
In the top right corner click Tasks and then click New Sync Share…
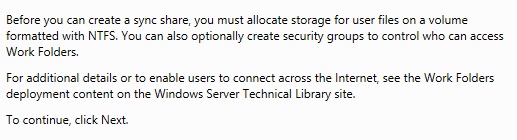
The first screen just reiterates when I said above about the security groups and folder. Click Next.
In the Server and Path Section, click on Browse next to the Enter a local path section and browse to c:\WorkFolders or whereever you created your folder.
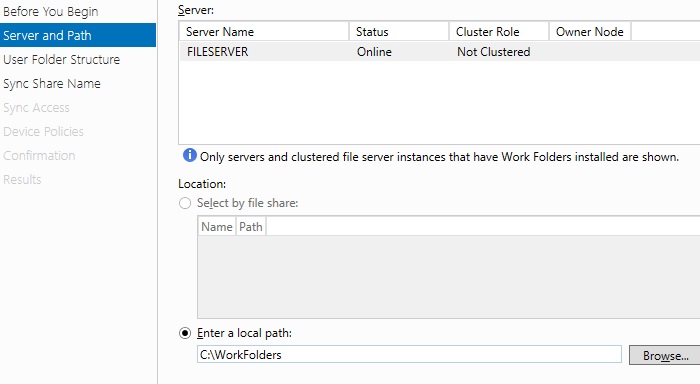
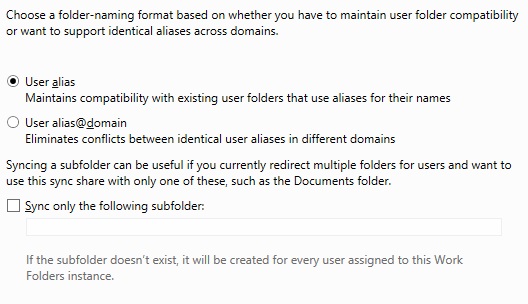
Leave the default option of “User alias” selected. User Alias is probably the one you will use most often as its compatible with Folder redirection. Also on this screen you can tell it to only sync subfolders. For example if you were making a users profile folder a work folder then you might only want to sync the “Documents” Folder. For now we will do everything. Click next.
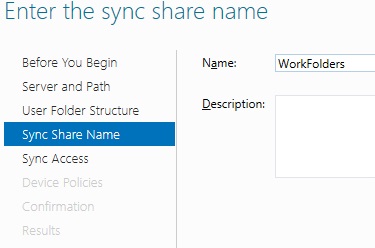
I will leave the Sync Share Name as the default in my example. Click Next.
Add the group we created at the start and click next.
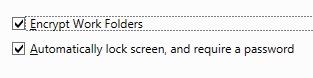
At this screen you can select device policies. Tick Encrypt Folder and click Next.
At the Confirmation screen. Check all the settings are right and then click Create
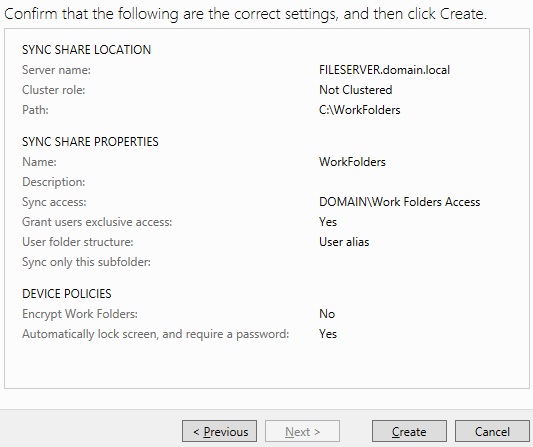
Click Close when the folder has been created.
Now we have our folders in place we need to put some certificates in place. In this example I’ll be using a wildcard self signed certs that I made using makecert. If you need to know how to create one then look at my article here. If you want a proper cert your need to create one for workfolders.yourdomain.com or use a wildcard.
Open up a certificate mmc for the local computer on your server hosting your work folders. Then click on Personal in the left hand column. Right click on All Tasks, Import.

Browse to your cert and click import. You should now see it listed under personal.
We now need to bind the cert to port 443. First of all we need thumbprint for your cert. Open an elevated powershell window and use the command
Get-ChildItem –Path cert:\LocalMachine\My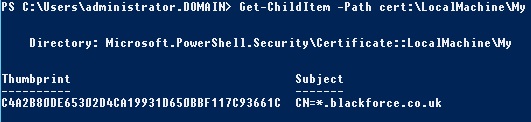
In my example we can see my thumbprint is
C4A2B80DE65302D4CA19931D650BBF117C93661C.
The command to bind must be run in an elevated command prompt NOT PowerShell :-
netsh http add sslcert ipport=0.0.0.0:443 certhash=C4A2B80DE65302D4CA19931D650BBF117C93661C appid={CE66697B-3AA0-49D1-BDBD-A25C8359FD5D} certstorename=MY
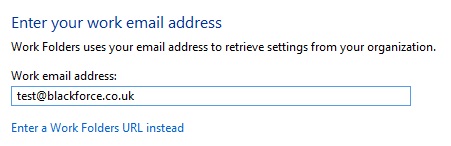
When clients connect, they will be asked to enter their email address. The email address is then used to append a workfolders A record to the domain name. So if my email was [email protected] the client would try and connect to workfolders.contoso.com. You need to ensure that this A record is created externally and also internally.
Now you should be all ready to go. All you need to do is if using a self signed cert import it into the Trust Root Certification Authorities.
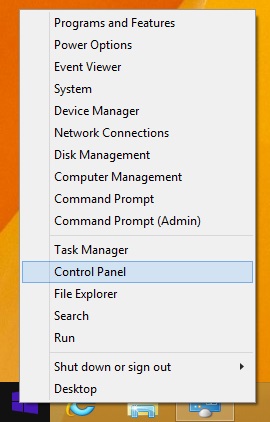
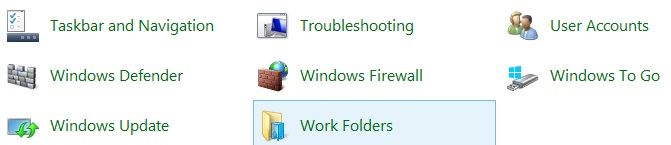
On the client go into Control panel.
Then click on Work Folders. (Large Icon View)
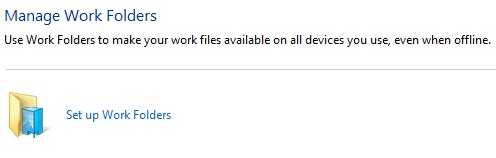
Click on Setup Work Folders.
Enter the users email address and click next
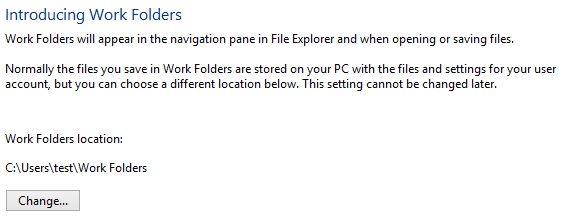
Select the location where you want the Work Folder to be located, click next.
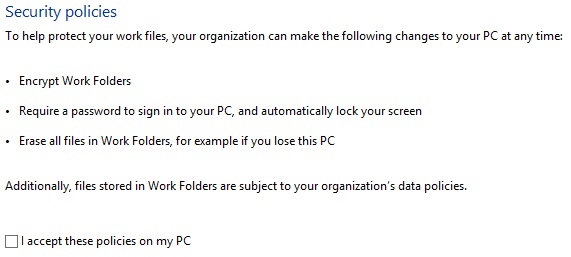
Your now be selected to accept the policies we setup when creating the work folder. Click I accept then click next.
Thats it!!!
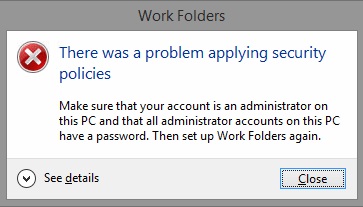
One thing that is annoying is that users need local admin rights to the pc if using policies. Otherwise they cannot set it up and they get the error :