In an earlier post I detailed how to create registry articles using group policy preferences.
This guide can be found here
A lot of the steps covered in that article also apply to mapping drives so i am not going to repeat those steps with screenshots. I will literally just write the steps down.
In this example we will be applying the group policy to a user OU. Changes we make will be under User Configuration.
I’ve also already create a shared folder on my server called Share. My test server is called server2008. This gives us a UNC path of \\server2008\share
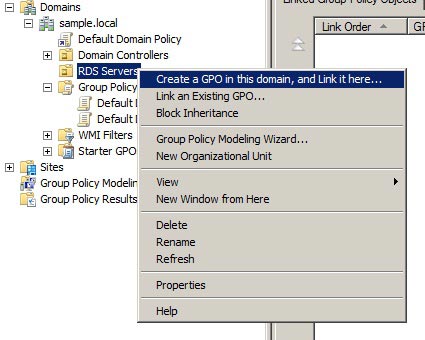
First step is to logon to your domain controller or a server with the group policy management console on. Open up the GPMC. Navigate to the OU where you are going to apply the group policy too. Right click on the OU and then click Create a GPO in this domain, and Link it here…
A dialog will appear asking for a name of the Group Policy. Since were creating one for Mapped Drives lets call it “Mapped Drives” then click ok.
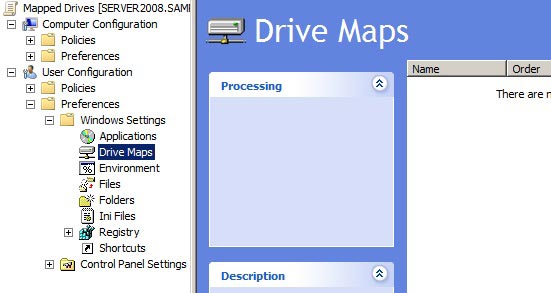
You will now be presented with the Group Policy Management Editor. Since were putting the mapped drives into a user OU branch down to User Configuration, Preferences, Windows Settings, then click on Drive Maps.
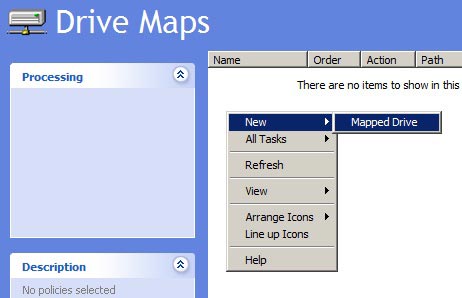
Right click on the white space on the right hand side and click new, mapped drive.
We now need to populate the next dialog box with the drive details we require. Your need the UNC paths for the drives you want to map. For this example we are going to use the UNC path \\server2008\server as I detailed earlier.
The action type you choose depends on what you want to happen. I have listed the 4 actions types below and what each of them does.
Create
Create a new mapped drive for users.
Delete
Remove a mapped drive for users.
Replace
Delete and recreate mapped drives for users. The net result of the Replace action is to overwrite all existing settings associated with the mapped drive. If the drive mapping does not exist, then the Replace action creates a new drive mapping.
Update
Modify settings of an existing mapped drive for users. This action differs from Replace in that it only updates settings defined within the preference item. All other settings remain as configured on the mapped drive. If the drive mapping does not exist, then the Update action creates a new drive mapping.
I would recommend using REPLACE as this changes all the other options that a drive might have if previously mapped.
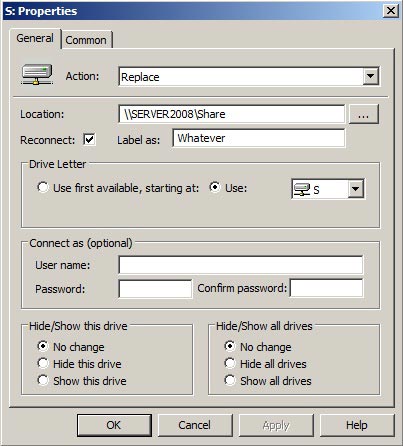
Location : Enter your UNC Path in here.
Reconnect : Tick this box. This will ensure it appears on next login.
Label as : What you want to appear next to the mapped drive in explorer. Just a label.
Drive Letter : Use, then select the drive letter you want to use.
Leave the rest as is. No need to change the rest unless you have a specific need. Click ok. It should look like below :
In the GP Editor you should see the mapped drive we just created.

Close this window. Changes you make are saved dynamically. No need to click save or anything, just cross out.
Now wait 15 minutes for replication to occur and the policy will now create a drive mapping for the affected OU.
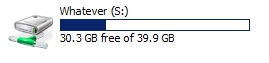
When you login you will now see the mapped drive. In my example i put in the label Whatever. We can see what effect that has.